If you are wondering how to use polymeric sand, the process involves filling clean, dry paver joints with polymeric sand, removing excess sand from the surface, and carefully activating it with water so the binding agents harden and lock everything in place. When applied properly, polymeric sand stabilizes stone pavers, limits weed growth, and helps prevent washout after rain. The key is correct joint depth, controlled watering, and proper weather conditions during installation.
Many homeowners install a paver patio or flagstone patio without fully understanding the watering process or how joint width affects performance. As a result, they may experience soft joints or uneven curing. This guide walks you through how to apply polymeric sand correctly, avoid common mistakes, and create a long-term solution for your patio, walkway, or driveway.
What Is Polymeric Sand?
Polymeric sand, often called poly sand or polymer sand, is fine sand blended with binding agents. When activated with water, those binding agents harden and lock sand into the joints. Unlike regular sand, polymeric sand resists erosion, weed growth, and insect activity, such as ant hills forming between pavers.
Unlike grout used between stone tiles indoors, polymeric sand remains slightly flexible outdoors. That flexibility helps prevent cracks caused by temperature shifts and ground movement. When applied properly, it becomes the best solution for stabilizing paver joints in concrete pavers, granite, or natural stone installations.
When Should You Use Polymeric Sand?
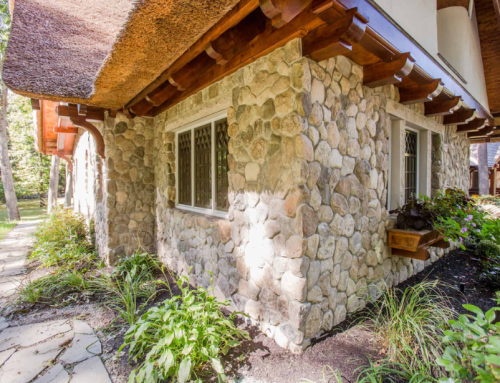
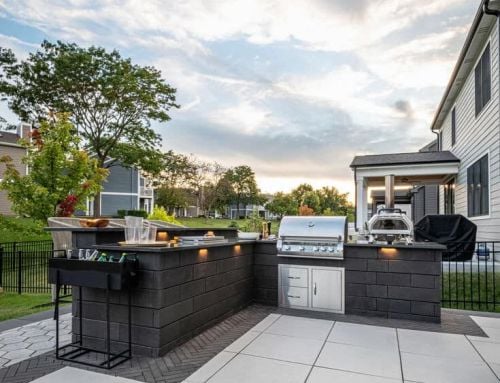
You should use polymeric sand in concrete pavers, stone pavers, and most stone surfaces with defined joints. It works well on a paver patio, flagstone patio, driveway, or walkway exposed to rain and foot traffic. It also performs well on an existing patio where old sand has washed out.
However, you must confirm proper joint width and joint depth before using polymeric sand. Most products require joints at least 1/8 inch wide and up to 1.5 inches deep. Wider joints or irregular stone tiles may require more detail and careful installation. Extremely tight grout-style joints are not ideal for poly sand.
What Tools and Materials You’ll Need
Using polymeric sand requires preparation and the right tools. You can complete the job efficiently when you gather everything in advance.
- Polymeric sand or polymer sand
- Push the broom to sweep the sand
- Leaf blower
- Plate compactor for newly installed pavers
- Garden hose with shower setting
- Protective gloves and mask
For larger patios, a plate compactor ensures the sand fills the entire depth of the joints. For smaller areas, you may complete the job without one, but compaction improves durability.
Installation Preparation
Before you apply polymeric sand, confirm these conditions:
- The paver surface is completely dry
- No rain expected for at least 24 hours
- All old sand removed from joints
- Joint depth meets product requirements
- Pavers are fully installed and stable
- Weather conditions above the recommended temperature
Preparation prevents most failures. Skipping steps creates a tedious job later.
Step-by-Step: How to Use Polymeric Sand
Installing polymeric sand correctly makes a big difference in the strength and durability of your paver joints. Follow these steps carefully to ensure the sand bonds properly and delivers long-lasting results.
Step 1: Prepare the Surface
Start by removing dirt, debris, and any old sand from the joints. If you are restoring an existing patio, use a pressure washer to clear joints completely. Allow the surface and joints to dry fully before proceeding. Even slightly wet joints can prevent proper bonding.
If clay soil surrounds your patio, confirm drainage is working properly. Poor drainage can weaken joints over time. Proper ground preparation is a big deal for long-term performance.
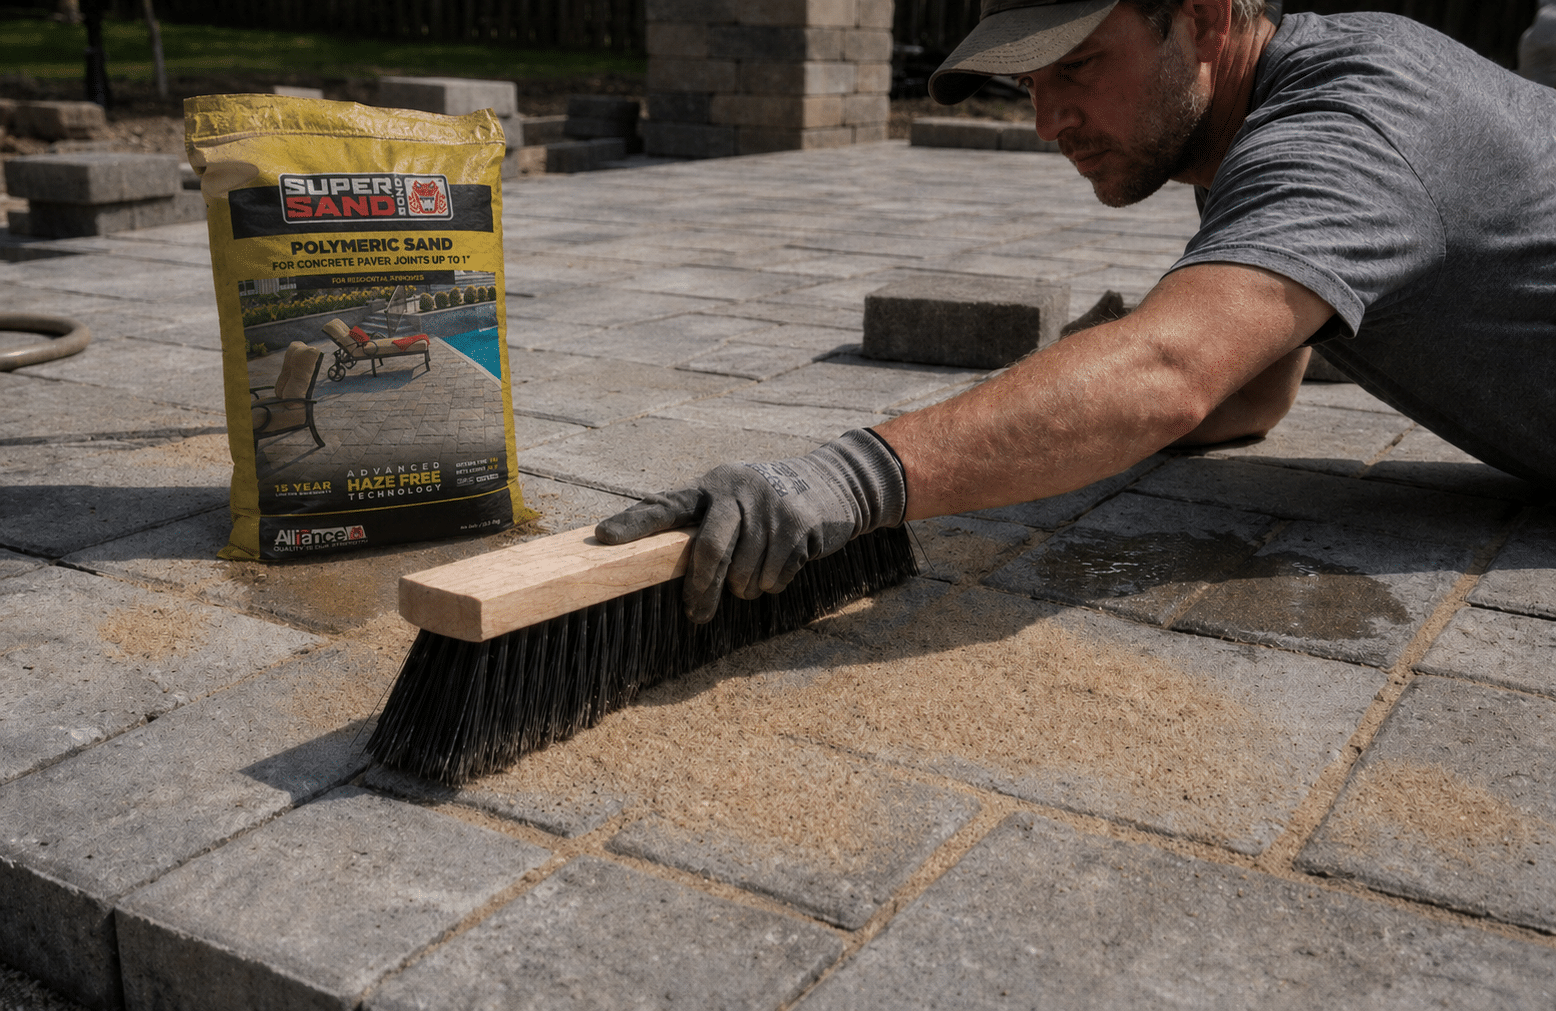
Step 2: Pour and Sweep the Sand Into the Joints
Pour polymeric sand evenly over the paver surface and sweep the sand into the joints using a push broom. Work diagonally across the pavers and continue until you fill the joints to the top.
Add more sand as needed to ensure it reaches the entire depth of the joints. Properly filled joints improve stability and reduce washout across the entire patio.
Step 3: Compact the Sand
If the pavers were recently installed, run a plate compactor over the surface to settle the sand into the joints. Compaction removes air gaps and helps the sand reach full joint depth.
After compacting, sweep more sand into the joints where settling occurred. Skipping this step may lead to soft spots after the watering process.
Step 4: Remove Excess Sand
Sweep excess sand off the paver surface carefully before activation. Use a leaf blower on low power to remove loose sand without disturbing the joints.
Leaving excess sand on the surface can cause haze, especially on concrete or granite pavers. Thorough cleaning ensures a clean finish after watering.
Step 5: Activate With Water
Now begin the watering process using a garden hose with a shower setting. Lightly mist the area, allowing water to soak into the joints without flooding them. Avoid using too much water, as overwatering can wash out binding agents.
Wait a few minutes between passes and repeat the misting. The sand should appear wet but not flooded. Most installations become rain safe after one hour, but always check product instructions to confirm when joints fully cure.
Best Weather Conditions for Installation
Weather conditions affect how polymeric sand performs. Always install on a dry day with no rain forecast for at least 24 hours. Temperatures should remain within manufacturer guidelines.
Avoid installation on the north side of your home if the surface remains damp. Cold or wet conditions prevent proper curing. Allow joints to fully cure before exposing them to heavy foot traffic or vehicles.
Common Mistakes and How to Avoid Them
| Mistake | What Happens | How to Prevent It |
| Applying to a wet surface | Weak bonding | Install only on dry pavers |
| Using too much water | Washout | Mist gently with the shower setting |
| Skipping compaction | Soft joints | Use a plate compactor |
| Leaving excess sand | Surface haze | Sweep and blow thoroughly |
| Ignoring joint width | Poor results | Confirm joint size first |
Small installation errors produce very different results. Following proper steps ensures consistent performance.
Troubleshooting Polymeric Sand Problems
Even when you follow the correct steps, polymeric sand can develop issues if conditions are not ideal during installation. Understanding common problems and their causes helps you fix them quickly and protect your paver joints for the long term.
Haze on the Paver Surface
Haze appears when excess sand remains on the surface during activation. Light haze may wash away naturally after rain. For heavier residue, use a cleaner approved for polymeric sand. Avoid aggressive power washing too soon. Let the joints fully cure before attempting removal.
Soft or Crumbling Joints
Soft joints usually result from insufficient watering or too much water. Remove damaged sand in a few places and reapply polymeric sand. Confirm correct joint depth before refilling.
Sand Washed Out After Rain
Heavy rain before the sand becomes rain safe can cause a washout. Remove loose material, allow the area to dry, and apply polymeric sand again. Proper timing prevents repeat problems.
How Much Sand Do You Need?
Many homeowners ask how much sand they need for their patio. Coverage depends on joint width, joint depth, and total square footage. Wider joints and deeper joints require more sand.
| Patio Size | Joint Width | Estimated Bags |
| 100 sq ft | 1/8 inch | 1–2 bags |
| 300 sq ft | 1/4 inch | 3–4 bags |
| 500 sq ft | 3/8 inch | 6+ bags |
Measure your entire patio carefully before purchasing. Buying slightly more sand prevents mid-project delays.
Polymeric Sand vs. Regular Sand
Regular sand and polymeric sand may look similar, but they perform very differently once installed in paver joints. Understanding the difference helps you choose the best solution for long-term patio durability.
| Feature | Regular Sand | Polymeric Sand |
| Resistance to Rain | Washes away after heavy rain | Locks into joints and resists erosion |
| Weed Growth | Allows weed growth over time | Reduces weed growth when applied properly |
| Insect Activity | Ant hills can form between pavers | Helps deter insects in joints |
| Stability | Loose fill between pavers | Creates a semi-rigid surface between pavers |
| Crack Prevention | Pavers may shift and develop cracks | Helps prevent shifting and joint cracks |
| Performance After Power Washing | Easily displaced during power washing | Holds better against light pressure wash |
| Long-Term Durability | Requires frequent refilling | Provides longer-lasting joint stability |
For most patios, driveways, and walkways, polymeric sand delivers the consistent results professionals expect while reducing maintenance over time.
Maintenance Tips for Long-Term Performance
After installation, avoid heavy foot traffic for at least 24 hours. Do not pressure wash the surface for several weeks. Early pressure washing can weaken newly bonded joints.
If you need to pressure wash later, use moderate settings. Avoid directing the spray directly into the joints. When necessary, you can reapply polymeric sand to areas that lose material over time.
Some homeowners apply sealer after the sand cures. If you plan to apply sealer, wait until joints fully cure. A compatible sealer protects the surface and enhances color.
Conclusion
When you understand how to use polymeric sand correctly, you protect your entire patio from shifting, washout, and weed growth. Proper joint depth, careful compaction, and a controlled watering process make a noticeable difference in long-term performance. Whether you are working with concrete pavers, granite, or natural stone, applying polymeric sand under the right weather conditions helps the joints fully cure and stay stable. Taking the time to install it correctly now prevents cracks, erosion, and costly repairs later.
At Old Station Outdoor & Landscape Supply, our team helps homeowners and contractors choose the right polymeric sand, tools, and materials for every project. We carry quality products designed for lasting performance and can guide you through proper installation for the best results. If you recently purchased materials or are planning a new patio, we’re here to help. Contact us today to speak with our team and get the right supplies for your project.
FAQs
Can you use polymeric sand on wider joints or irregular stone?
Yes, you can use polymeric sand on wider joints, but you must confirm the manufacturer’s joint width limits first. Many products work up to a certain width, often around 1/2 inch, while larger gaps in irregular stone may require a specialty polymeric sand designed for wider joints. Always check joint depth and ensure the sand reaches the entire depth for proper bonding.
Can polymeric sand be installed over existing sand?
No, you should not install polymeric sand directly over existing sand. Old sand must be removed completely so the new polymeric sand can bond properly within clean, stable joints. Leaving loose material underneath can lead to soft spots, washout, and uneven curing.
How long does polymeric sand last?
When installed correctly under proper weather conditions, polymeric sand can last several years. Its lifespan depends on joint depth, drainage, foot traffic, and exposure to rain or freeze-thaw cycles. Regular inspection and light maintenance can extend its performance.
Can you install polymeric sand around a pool?
Yes, polymeric sand can be used around a pool if the base is properly installed and drains well. However, you must avoid overwatering during installation and allow the joints to fully cure before exposure to splashing or heavy moisture. Proper installation helps prevent erosion and keeps pavers stable in wet environments.