Winter weather can turn driveways, walkways, and parking lots into hazardous surfaces, especially when snow and ice refreeze overnight. Among all ice melt products on the market, calcium chloride stands out because it can melt ice faster and at lower temperatures than most alternatives. But there’s a right way and a wrong way to use it. When applied incorrectly, even a powerful deicer like calcium chloride can harm concrete, plants, surfaces, and pets. When used properly, it becomes one of the most dependable ways to quickly melt ice and prevent dangerous slip hazards.
This guide explains exactly how to use calcium chloride ice melt step-by-step, with practical insights based on what we recommend to homeowners and contractors at Old Station Outdoor & Landscape Supply. You’ll learn how calcium chloride works, where it should and shouldn’t be used, how much to apply, and how to protect concrete, vegetation, and pets while keeping your property safe.
What Makes Calcium Chloride Ice Melt Different?
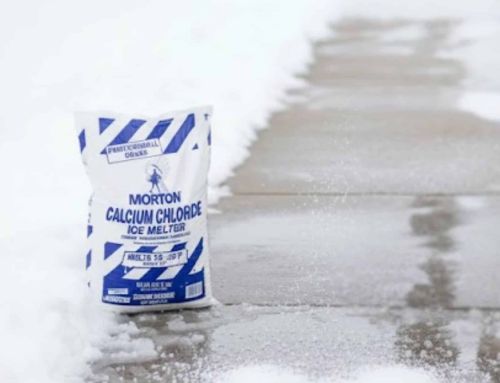
Calcium chloride is one of the fastest-acting and most efficient ice melters available, especially in harsh winter conditions. Its effectiveness comes from its ability to generate heat when it meets moisture, creating an exothermic reaction that continues working even in extremely low temperatures. While traditional rock salt stops melting ice around 20°F, calcium chloride remains effective down to -25°F, making it a reliable choice for properties that experience frequent freeze-thaw cycles or heavy winter storms.
Another advantage of calcium chloride is its hygroscopic nature, which allows it to attract moisture from the air and penetrate thick layers of ice more quickly. As it dissolves, it forms a brine that lowers the freezing point of water and breaks the bond between ice and the surface below. Because it is more concentrated than many other deicing products, you can use smaller amounts to achieve better results. Still, proper application matters, as overuse can affect nearby vegetation and long-term surface integrity.
When You Should Use Calcium Chloride Ice Melt
Knowing when to apply calcium chloride makes a significant difference in performance and safety. For example, applying it just before snowfall can prevent a thick layer of ice from forming. It’s also effective after storms, quickly breaking through compacted snow and frozen patches on walkways, driveways, steps, and shaded areas that freeze easily. Because it works at very low temperatures, it remains reliable during long cold snaps or repeated overnight ice formation. Keep in mind that calcium chloride performs best when there is enough moisture present. In extremely dry conditions, activation may take slightly longer, but proper timing still ensures consistent melting and safer surfaces.
Step-by-Step Guide: How to Use Calcium Chloride Ice Melt Correctly
Applying calcium chloride properly ensures safety, prevents surface damage, and reduces the need for repeated applications. While it may seem as simple as scattering pellets over ice, the process benefits from a clear method. By following these steps, you’ll maximize melting speed, improve traction, and protect the materials underneath.
Step 1: Clear Snow and Loose Ice First
Before applying any deicing chemicals, physical snow removal is essential. Shoveling or plowing away loose snow reduces the amount of ice melt needed, prevents waste, and exposes the areas where melting is actually required. Calcium chloride is most effective when it can directly contact a thin layer of ice rather than several inches of snow. Removing as much snow as possible will help the deicer penetrate more quickly and create a safer walking or driving surface.
Step 2: Measure the Proper Application Rate
Calcium chloride is more concentrated than many ice melters, so using too much can create unnecessary runoff and increase the risk of corrosion. Always apply the amount recommended on the product label. On average, most manufacturers suggest using 1/4 to 1/2 cup for every square yard, depending on temperature and ice thickness. This range ensures you’re applying enough to melt the ice but not so much that it leaves excessive residue. The form of calcium chloride you use also matters. Pellets typically penetrate thick ice faster, while flakes work well for even distribution. Understanding how much product you need and controlling the spread makes the process more efficient and safer for surrounding surfaces.
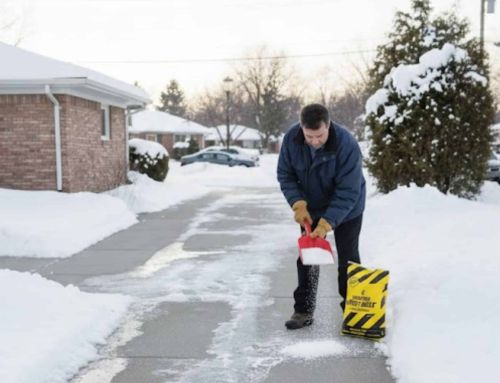
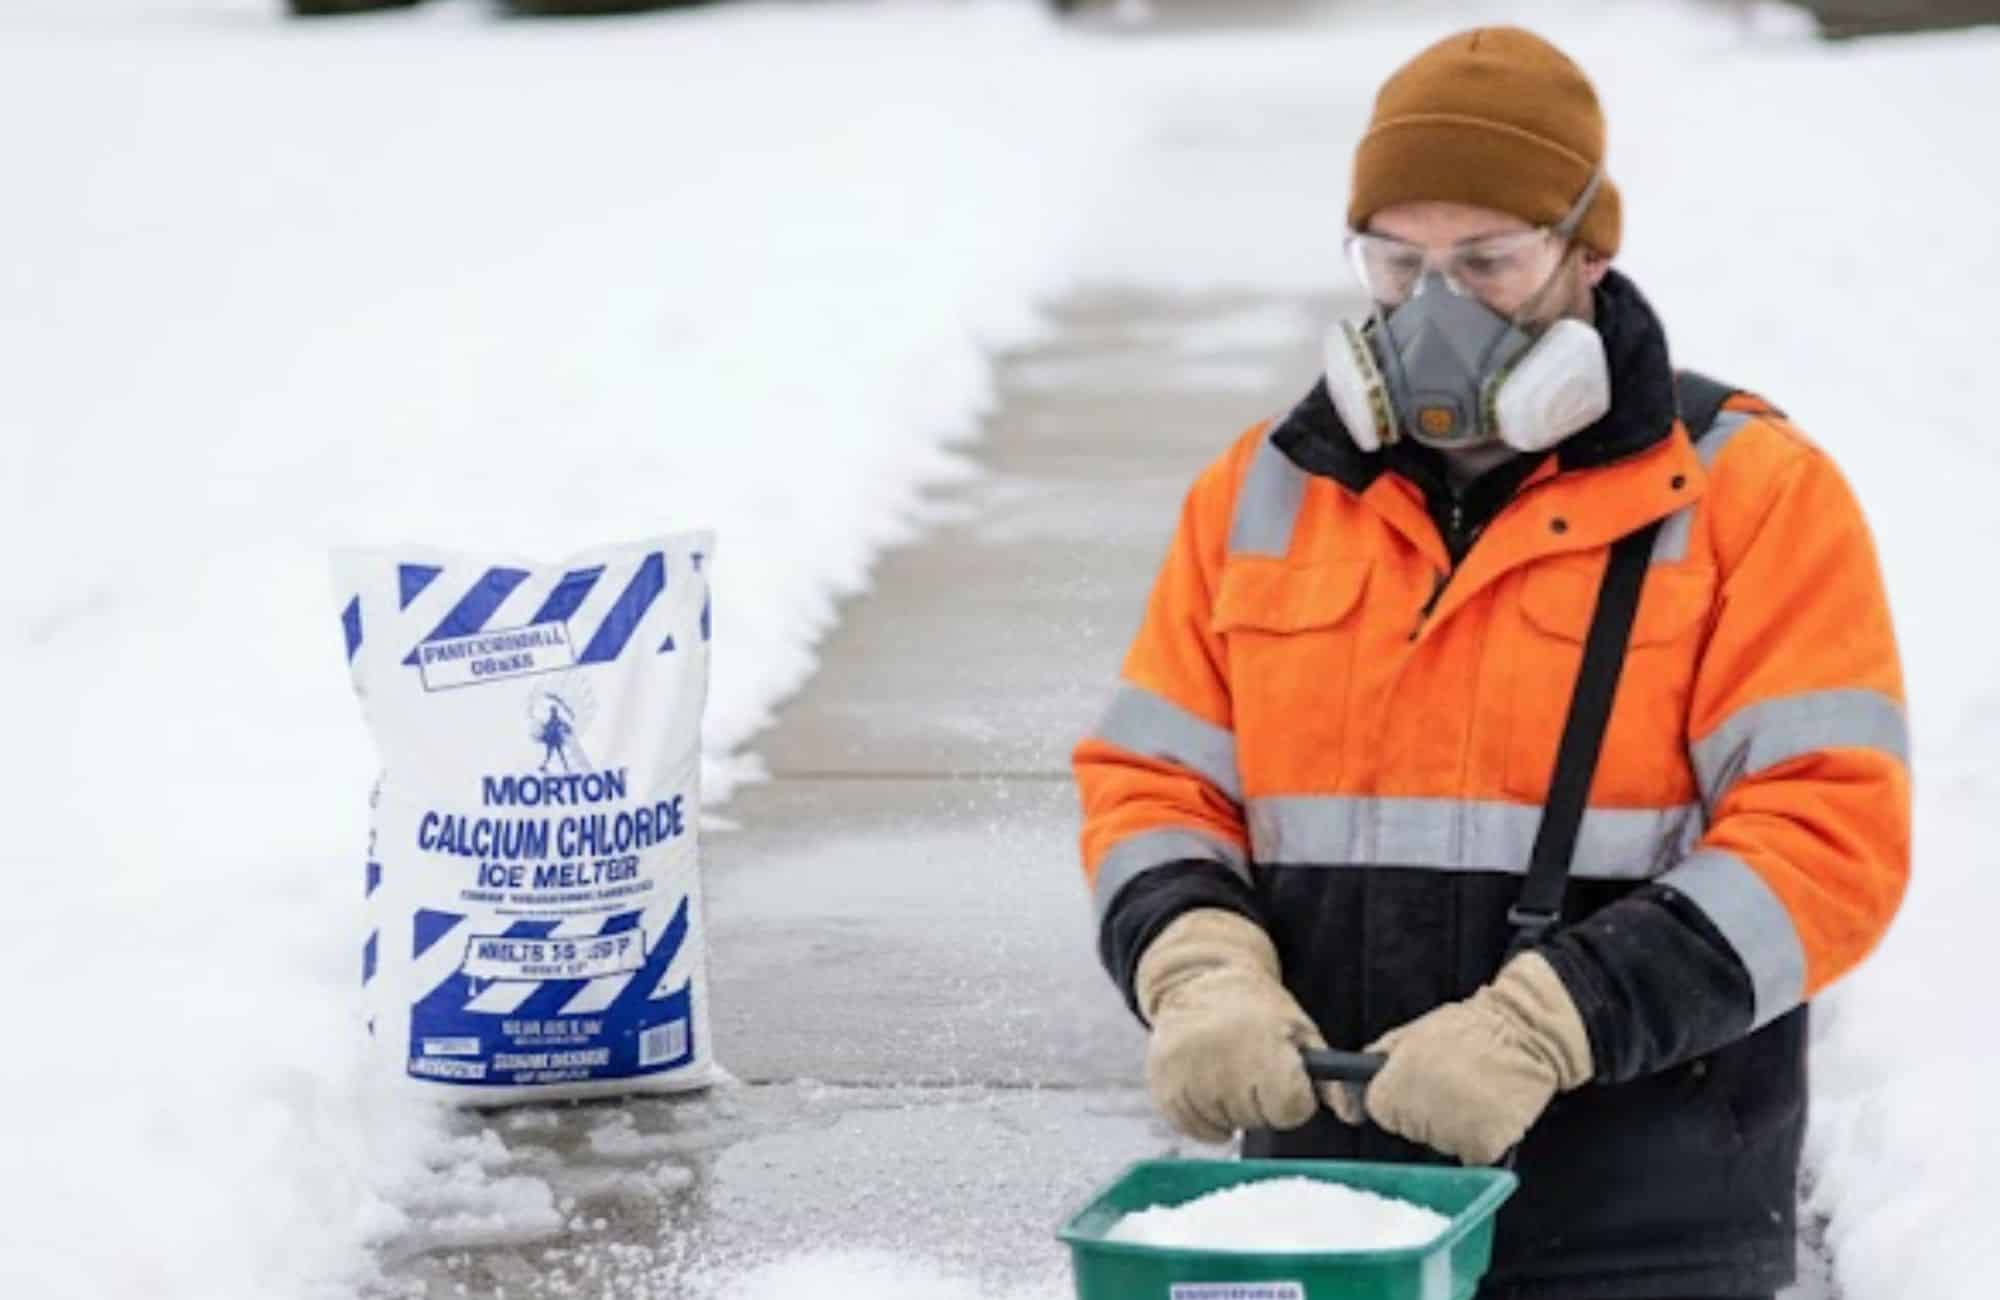
Step 3: Spread Evenly Using the Right Tools
Even distribution helps avoid overly concentrated areas that may cause damage or leave slick spots. A handheld spreader works well for driveways and walkways, ensuring consistent application across the entire surface. For smaller areas like steps or short paths, you can use a scoop or even a gloved hand to apply the calcium chloride more precisely. Keeping a steady pace while spreading helps create an even layer. Avoid piling the product in one spot, as this can lead to excessive melting in isolated patches and slow performance elsewhere.
Step 4: Allow Proper Activation Time
Calcium chloride works quickly, but it still requires a short window to activate. In moderate winter temperatures, you may see melting occur within minutes. In extremely cold conditions, the process may take longer. The exothermic reaction releases heat as the pellets or flakes absorb moisture and dissolve, creating a brine that cuts through the ice. Watching for wet patches or slush formation is a good indicator that the product is working effectively.
Step 5: Reapply Only When Necessary
It’s important not to overdo it. If the ice melt has already activated and created a wet surface, avoid adding more unless temperatures drop significantly or another layer of ice forms. Reapplying too frequently can saturate the area, increase runoff, and impact the surrounding soil or vegetation. To stay safe, observe the conditions after your first application before deciding whether more is needed.
Step 6: Clean Up Excess Calcium Chloride
Once the ice has melted and the surface is clear, sweep away any leftover calcium chloride. Leaving excess product can harm grass, soil, or concrete over time. A simple broom or shovel can remove leftover materials and reduce the risk of corrosion or residue tracking indoors. Good cleanup also helps prevent harm to pets and protects the long-term integrity of your surfaces.
How Much Calcium Chloride Ice Melt Should You Use?
Figuring out the right amount to apply depends on surface area, temperature, and the thickness of the ice. Using too little means you’ll have to reapply, while too much increases the risk of damage to concrete and vegetation. A general guideline for most calcium chloride products looks like this:
| Temperature | Recommended Amount per 1,000 sq ft | Notes |
|---|---|---|
| Above 10°F | 10–20 lbs | Works quickly; minimal product needed |
| 0°F to 10°F | 20–30 lbs | Use slightly more for faster penetration |
| Below 0°F | 30–40 lbs | Activates more slowly; pellets work best |
Remember that these numbers are approximate. Always check the label for manufacturer recommendations. When in doubt, start with less and increase slowly based on results. Applying in controlled amounts ensures the ice melts properly without harming plants, surfaces, or nearby soil.
Safety Tips: Using Calcium Chloride Around Pets, Plants, and People
Even though calcium chloride is effective at melting ice, it must be handled with care around people, pets, and landscaping. Pets can experience irritation on their paws if they walk through areas with heavy chemical residue. To reduce risk, wipe their paws with a damp towel after they come inside and avoid using large amounts of product near areas where pets frequently travel.
Plants and grass can also be affected by runoff from melting. Calcium chloride can leach into soil and draw moisture away from roots. Sweeping up excess product after the ice melts will help avoid unnecessary contact with vegetation. Storing the product properly matters too. Because calcium chloride attracts moisture from the air, keeping it in a tightly sealed container prevents clumping and increases effectiveness. When applying calcium chloride, wearing gloves can help prevent skin irritation. Avoid inhaling dust, and ensure the area has proper drainage to prevent pooling. Safe handling and cleanup allow you to use calcium chloride effectively without creating additional risks.
Calcium Chloride vs Other Ice Melt Options
There are several types of ice melt products, each with its own strengths and weaknesses. Understanding the differences can help you select the best option for your needs.
| Ice Melt Type | Temperature Rating | Speed | Concrete Safety | Best Use Cases |
|---|---|---|---|---|
| Calcium Chloride | -25°F | Fastest | Moderate | Driveways, walkways, thick ice |
| Magnesium Chloride | -13°F | Fast | Better | Areas with pets or landscaping |
| Rock Salt (Sodium Chloride) | 20°F | Slow | Poor | Budget use, mild winters |
| Calcium Magnesium Acetate (CMA) | 20°F | Slow | Excellent | Delicate surfaces, concrete protection |
Calcium chloride stands out because it can handle severe winter temperatures and melt ice quickly. However, magnesium chloride is often preferred for areas with pets because it is less irritating on paws. CMA is an excellent choice when concrete preservation is a priority, though it is slower and works best as a preventive measure. Choosing the right product depends on your climate, surface type, and safety needs.
Conclusion
Calcium chloride is one of the most reliable ways to quickly melt ice and keep walkways, driveways, and parking areas safe during winter. When applied correctly, it reduces hazards without harming your surfaces or nearby vegetation. By using the right amount, monitoring conditions, and maintaining proper cleanup, you can handle even the toughest winter weather with confidence.
At Old Station Outdoor & Landscape Supply, we carry high-quality calcium chloride products and other winter materials to help you keep your property safe all season long. Whether you’re treating a small walkway or managing a larger commercial area, our team can guide you to the best solutions for your needs. Contact us today to learn more or get assistance with your winter ice melt products.
FAQs
How to apply calcium chloride for ice melt?
To apply calcium chloride for ice melt, spread it evenly across the surface using a scoop or handheld spreader, making sure not to pile it in one spot. Clear loose snow first so the product can contact the ice directly. Always follow the recommended application rate to avoid overuse.
How long does calcium chloride take to melt ice?
How long calcium chloride takes to melt ice depends on temperature and ice thickness, but it typically begins working within minutes because of its heat-generating reaction. In extremely low temperatures, it may take slightly longer to penetrate thicker layers. Proper application ensures faster, more consistent melting.
Should I put calcium chloride down before it snows?
You should put calcium chloride down before it snows if you want to prevent ice from bonding to the surface and make shoveling easier. A pre-storm application forms a brine that slows ice formation. This helps reduce buildup and improves safety during the storm.
What is the proper way to use ice melt?
The proper way to use ice melt is to remove loose snow first, apply the product evenly at the recommended rate, and allow it time to activate. After melting occurs, sweep up excess material to protect concrete, plants, and pets. Using the right amount and avoiding overapplication leads to safer, more effective results.