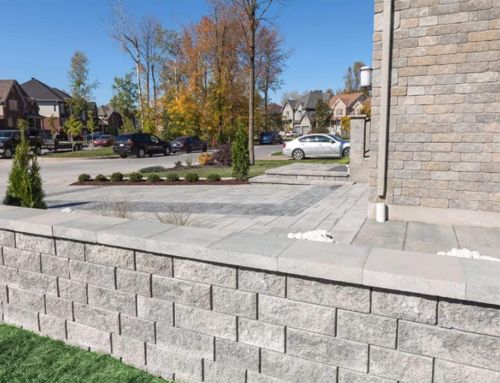
A beautiful paver patio, walkway, or driveway starts long before the first paver is laid. The real secret is underneath, in the paver base. Without a strong, well-prepared foundation, even the best-looking surface can sink, shift, or crack within a few years. Choosing the best base for pavers is essential to creating a long-lasting, low-maintenance outdoor space that can withstand time, weather, and regular use.
This step-by-step guide explains the most effective paver base materials, how to install them step-by-step, and the mistakes to avoid. Whether you’re creating a small garden path or building a driveway for heavy vehicles, the same principles apply. Start with a solid base, prepare it correctly, and your paver project will remain strong and attractive for decades.
Why the Right Paver Base Matters
Your paver base is like the foundation of a house. Without it, the surface won’t stay level, paver joints can open, and water damage may occur over time. A well-built paver base provides a stable foundation to support weight and traffic. This also allows proper drainage to prevent pooling and frost heave. It keeps pavers from shifting or sinking, reduces weed growth in the joints, and helps maintain the overall durability of the project.
However, skipping important steps or selecting the wrong base material can lead to uneven surfaces, cracks, and costly repairs. That’s why proper preparation, the right choice of paver base materials, and consistent compaction are essential to building a surface that remains strong, stable, and visually appealing for years to come.
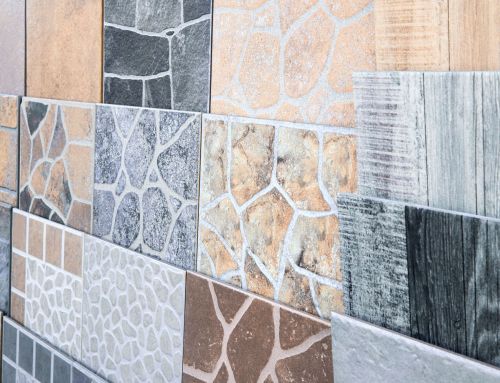
Best Paver Base Material
There isn’t a single “best” option for every situation. The right choice depends on your climate, soil type, and project needs. At Old Station Outdoor & Landscape Supply, we stock a variety of paver base materials to cover any application:
| Base Material | Benefits | Best For |
|---|---|---|
| Crushed Stone/Gravel | Excellent compaction, great drainage, supports heavy loads | Patios, walkways, driveways |
| Dense Graded Base (DGB) | Mix of stone dust and gravel for a solid base | Driveways, vehicular areas |
| Decomposed Granite | Natural look, easy to level | Dry climates |
| Crushed Concrete | Recycled, affordable | Budget-friendly projects |
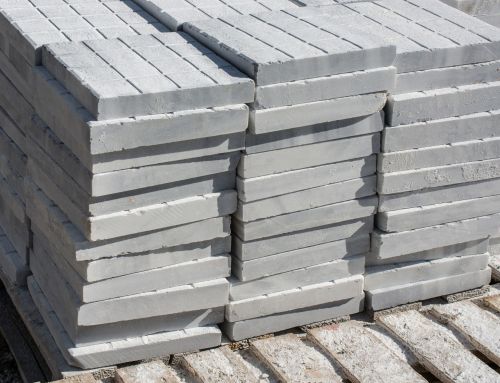
| Concrete Sand (as bedding layer) | Smooth, even surface for pavers | Final layer before laying pavers |
| Polymeric Sand | Locks paver joints and prevents weeds | All paver installations |
Avoid using pea gravel or round stones as they don’t compact well and can cause shifting. Instead, opt for materials like dense graded base or crushed stone, along with a layer of sand. These materials interlock and create a solid foundation. These also improve load-bearing capacity and help maintain proper drainage, reducing the risk of water pooling beneath your pavers. Choosing the right paver base material for your soil conditions is essential for preventing movement and maintaining alignment. It also helps extend the life of your paver project.
Step-by-Step Guide to Installing a Solid Paver Base
1. Plan and Measure
Decide on the exact size and shape of your paver patio, walkway, or driveway. Use stakes, string lines, or marking paint to outline the project area. Plan for a slope of 1–2% (¼ inch per foot) away from structures to ensure proper drainage and prevent water damage. Taking accurate measurements at this stage also helps you calculate the right amount of paver base material and bedding layer you’ll need. It also ensures you have the correct number of pavers for a successful project.
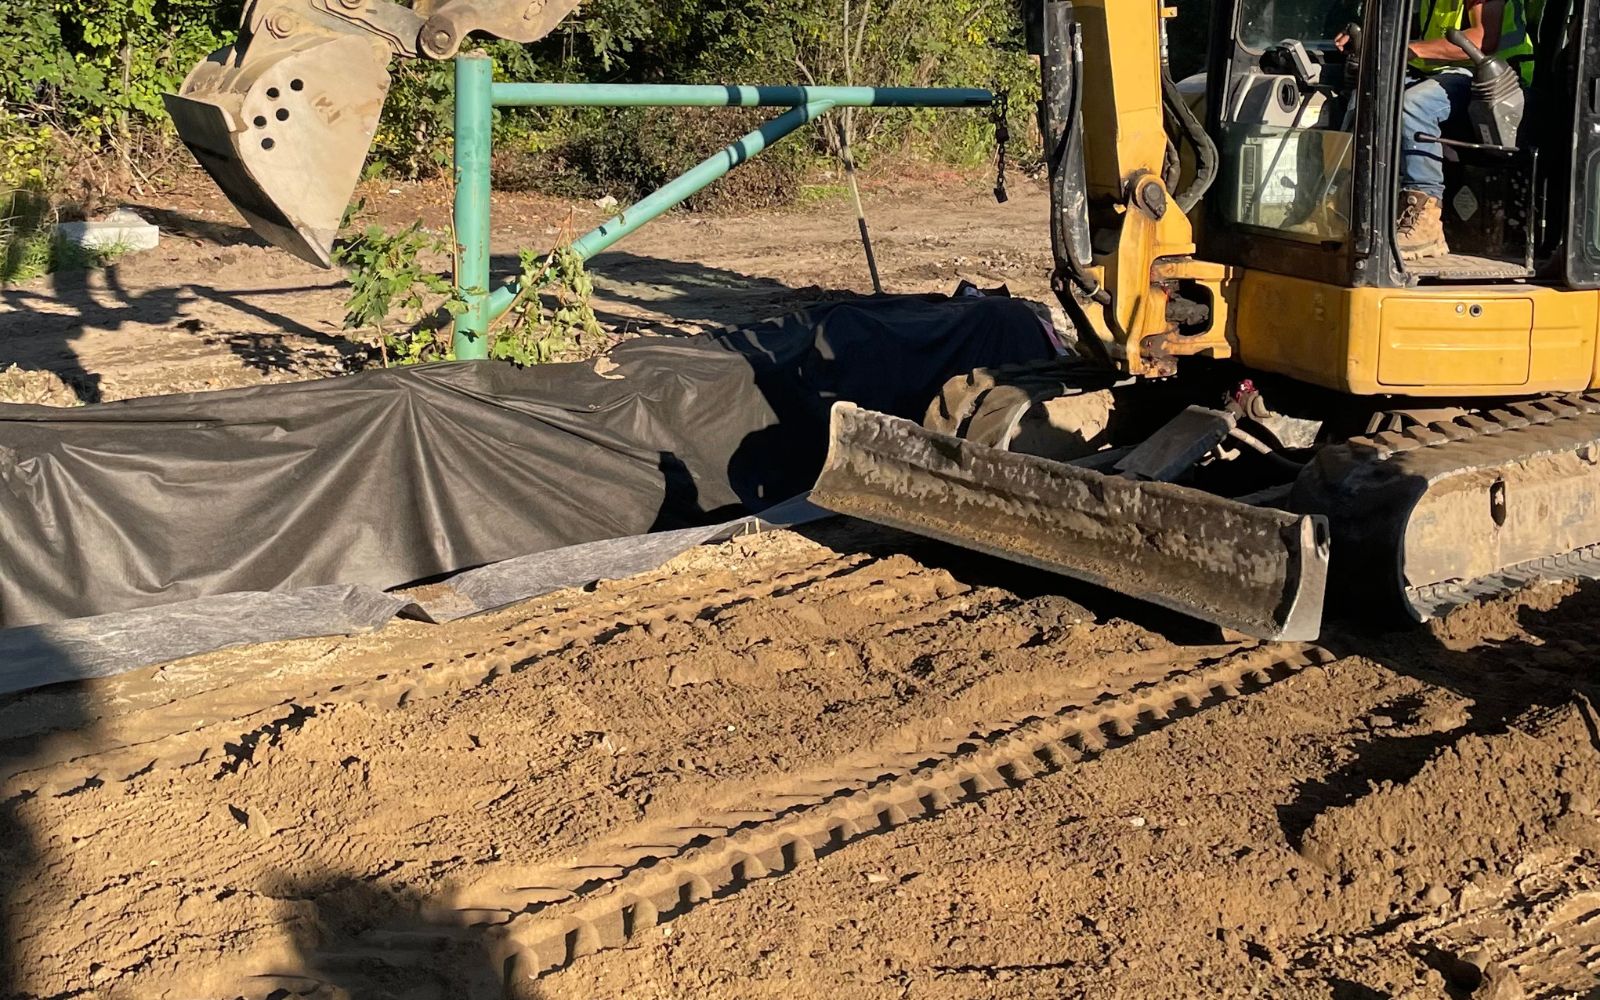
2. Excavate
Remove soil to the required depth, factoring in the base layer, bedding layer, and paver thickness.
- Walkways/patios: 6–8 inches deep
- Driveways/vehicular areas: 8–12 inches deep
Clear out all grass, roots, rocks, and organic material to avoid future shifting. For cold climates, consider digging an extra 2–4 inches to reduce frost heave. Make sure that the excavation is level and compact the exposed soil before moving forward.
3. Add Geotextile Fabric (Optional)
Place geotextile fabric over the excavated area to keep the base material from mixing with the native soil, especially in clay or poor-draining conditions. This layer improves long-term stability, enhances drainage, and helps prevent erosion. Choose a high-quality, permeable fabric that allows water to pass through while acting as a barrier between layers.
4. Add Base Layer
Spread crushed stone or dense graded base in 3–4 inch increments. Compact each layer thoroughly with a plate compactor before adding the next to achieve a solid base that can withstand heavy use and seasonal changes. For vehicular areas, aim for at least 8 inches of compacted base for maximum durability and load-bearing strength.
5. Add Bedding Layer
Spread 1–2 inches of concrete sand evenly over the compacted base. This bedding layer creates a smooth, level surface for your pavers. Use a screed board to evenly spread the sand, maintaining a consistent depth across the entire area. Avoid walking on the leveled sand to prevent depressions.
6. Lay Pavers
Set your pavers in the desired pattern, starting from one corner or a straight edge. Keep small gaps between each unit for paver joints. Use spacers if necessary for consistency. Check alignment regularly with a string line to maintain straight lines and clean edges.
7. Fill Joints
Sweep polymeric sand into all joints to fill the joints completely for a strong, interlocked surface. This step locks the pavers in place, reduces weed growth, and helps prevent ant infestations. Lightly mist the surface with water to activate the polymeric binding agents, following the manufacturer’s instructions for best results.
8. Compact and Seal
Run the plate compactor over the surface to settle the pavers into the bedding layer and further lock the paver joints. Add more polymeric sand if needed after compaction. Apply a quality sealer to enhance durability, protect against stains, and maintain the color and finish of your paver project.
Dos and Don’ts for a Successful Project
Do:
- Compact each layer of the base material with a plate compactor to achieve maximum stability and prevent future settling.
- Choose a paver base material suited to your climate, soil conditions, and project type. For example, use a dense graded base for driveways or crushed stone for patios and walkways.
- Use edge restraints to keep pavers in place, maintain clean flat edges, and prevent the bedding layer from shifting over time.
- Plan for proper drainage by ensuring a 1–2% slope away from buildings to reduce the risk of pooling, frost heave, and water damage.
Don’t:
- Skip proper compaction, as an uncompacted base can lead to uneven surfaces, open paver joints, and costly repairs.
- Use only sand or round stones for your base because these materials don’t interlock or compact well, leading to instability.
- Ignoring soil conditions or neglecting clay or poor-draining areas without using geotextile fabric can compromise the solid foundation.
- Forget to secure the perimeter because a lack of edging can cause pavers to spread and the surface to lose shape over time.
Conclusion
A strong foundation is the difference between a successful project that lasts and one that fails early. By choosing the right paver base materials, ensuring proper compaction, and following best practices for drainage and installation, you can create a surface that is durable and looks great. It also delivers long-term durability. Whether it’s a paver patio, walkway, or driveway, a solid base will protect against shifting, sinking, and costly repairs, keeping your paver project stable and attractive for years to come.
At Old Station Outdoor & Landscape Supply, we provide everything you need for a professional-quality installation. This includes crushed stone and dense graded base, concrete sand, polymeric sand, and more. We also offer essential tools, edge restraints, and expert advice to help you achieve a smooth, efficient build from start to finish. Contact us today to discuss your project and get started on building a long-lasting paver installation you can be proud of.
FAQs
Is it better to lay pavers on sand or gravel?
It is better to lay pavers on a combination of compacted gravel and a thin sand bedding layer, rather than sand alone. Gravel provides a stable, well-draining foundation, while sand helps level the surface for the pavers, preventing pooling. Using both ensures long-term durability and reduces shifting.
What do you put down for a base for pavers?
For a base for pavers, you typically put down compacted crushed stone or dense graded base in layers, followed by a concrete sand bedding layer. This combination creates a strong foundation, promotes proper drainage, and prevents the pavers from settling unevenly. Adding geotextile fabric is recommended in clay or poor-draining soils.
What should I lay my pavers on?
You should lay your pavers on a properly prepared base of compacted gravel with a thin layer of bedding sand on top. This setup allows for proper drainage, stability, and easy leveling with suitable paver bases. Laying directly on soil or only sand can lead to shifting, sinking, and premature failure.
Do pavers need a concrete base?
Pavers do not typically need a concrete base for standard patios, walkways, or driveways. A properly compacted gravel base with a sand bedding layer is sufficient for most projects and offers better drainage, so consider seeking expert advice. Concrete bases are sometimes used for specific applications, but they can increase cost and reduce flexibility.