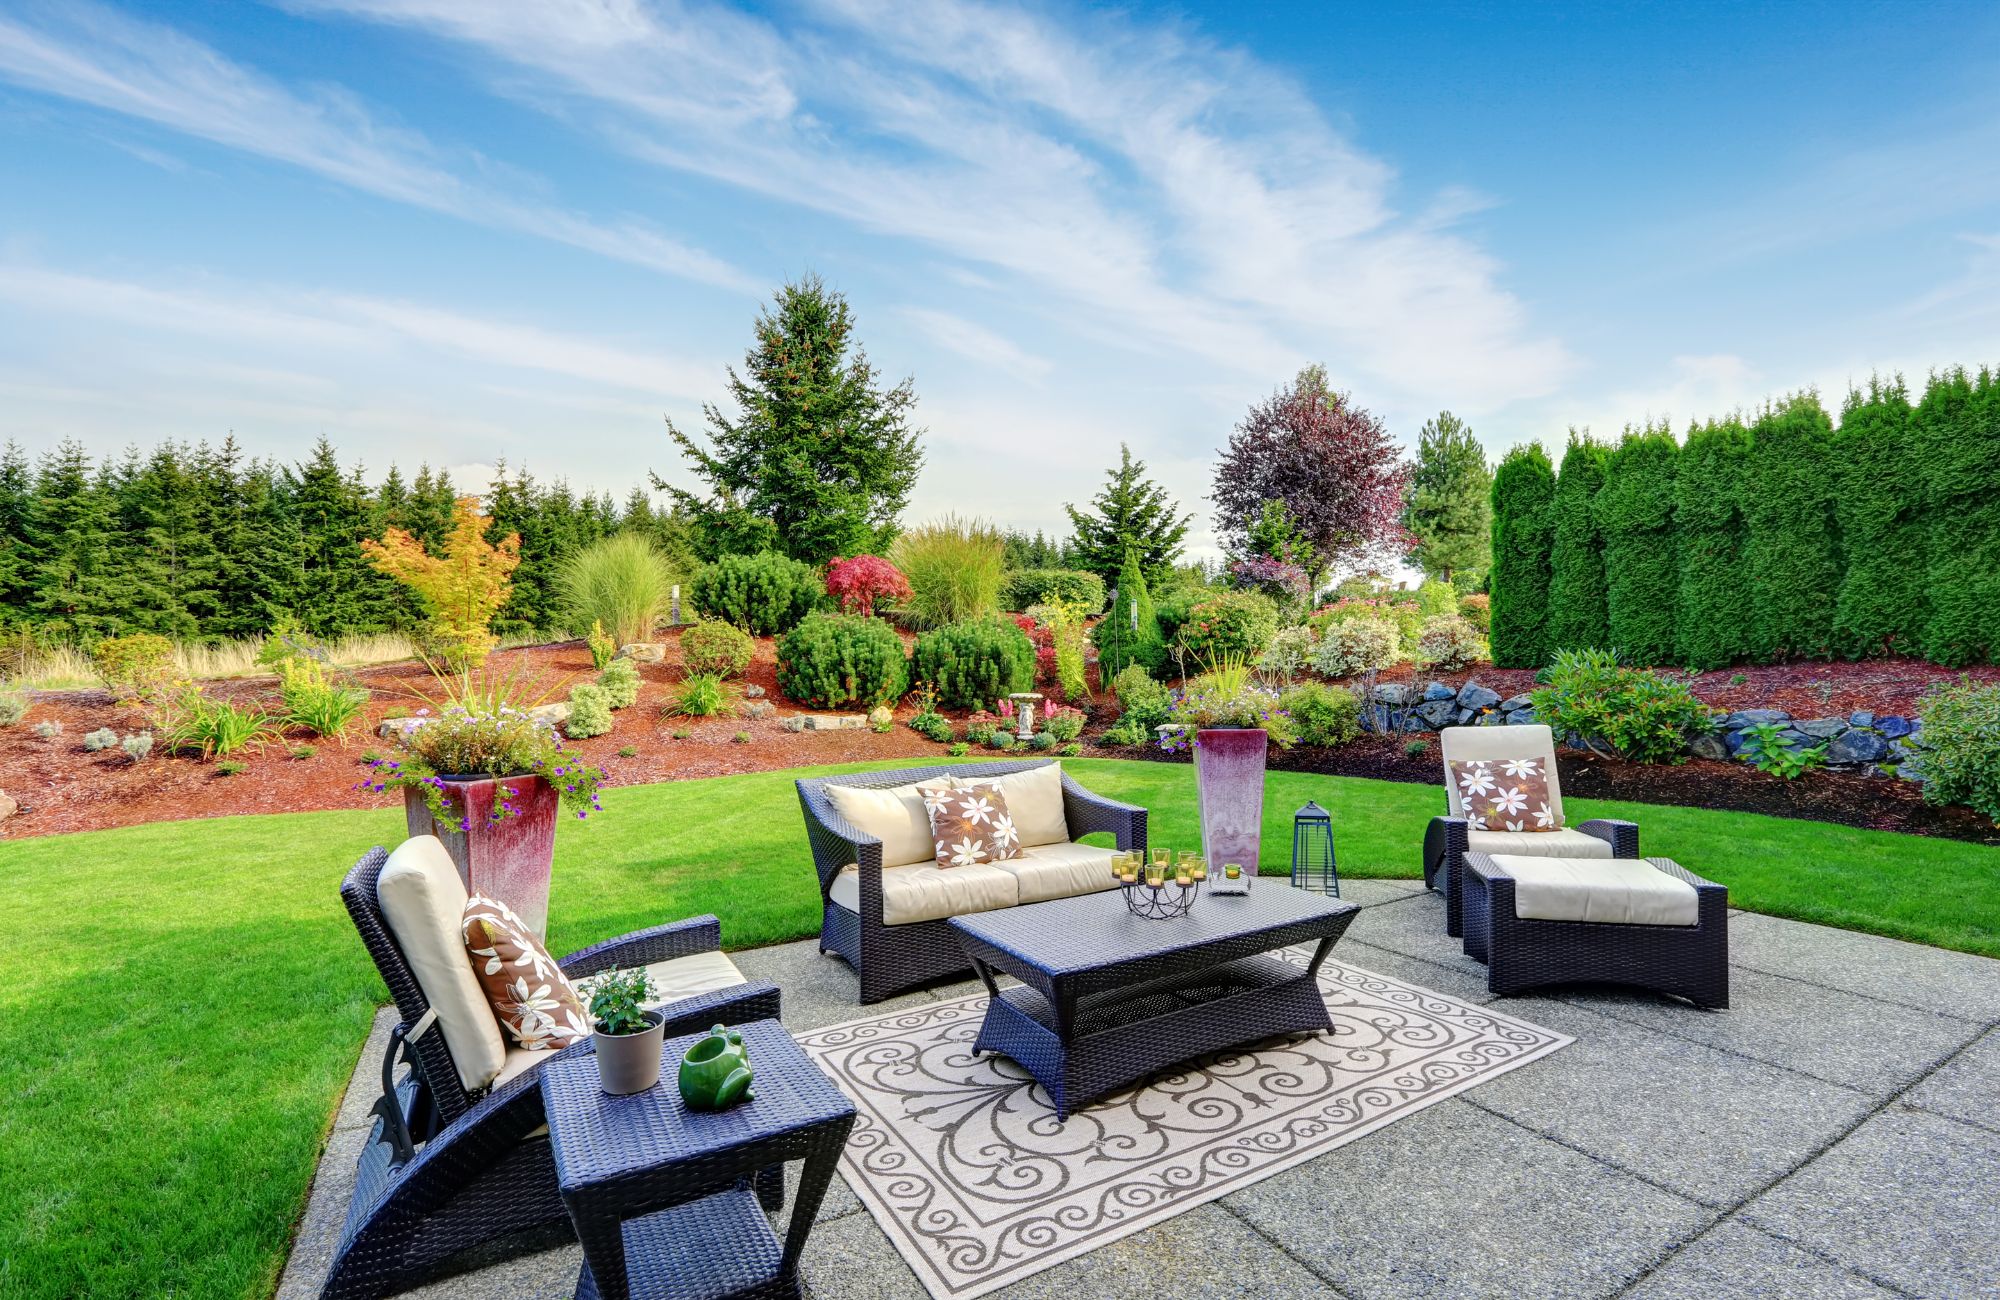
A well-designed backyard paver patio can instantly boost your home’s value while creating the perfect place to relax, entertain, and enjoy the outdoors. Whether you’re starting with bare dirt and grass or upgrading an existing patio left by previous owners, pavers are a great option for transformation. They remain one of the most versatile and stylish ways to enhance your yard. With endless ideas, styles, and all the materials, from concrete pavers to natural stone, you can create a space that feels like an outdoor room built just for you.
In this guide, you’ll find everything you need to plan, design, and install your own paver patio. From choosing the right gravel base, leveling sand, and edge restraints to step-by-step building advice and long-term maintenance tips, we’ll walk you through the details. Taking the DIY patio route or working with a professional will provide you with the knowledge and inspiration needed for your project. You’ll create a finished product that looks amazing and lasts for years.
Why Choose a Backyard Paver Patio?
A backyard patio is more than just a flat surface. It’s an outdoor room that extends the comfort of your house into the yard. Homeowners choose pavers for their durability, design flexibility, eco-friendly options, and everyday benefits, especially over an existing patio. Unlike poured concrete, pavers are stronger and easier to maintain. If one cracks or gets stained, you can replace it without redoing the entire patio. This makes them a smart long-term investment for any yard.
Beyond strength, pavers offer unmatched design flexibility. You can choose from stone, brick, or concrete pavers in a wide range of styles, colors, and patterns, or mix in pea gravel, river rock, or mulch borders for added detail. At Old Station, we stock everything from premium concrete pavers to natural granite and bluestone slabs, so you can match your current patio style to your house. For those interested in sustainability, permeable pavers let rain soak back into the soil, improving drainage and reducing puddles. A paver patio helps keep dirt and dust out of the house while providing a sturdy foundation for furniture. It also creates a clean, safe space for gathering with friends and family.
Planning Your Backyard Paver Patio
Before you grab a shovel, take time to plan your backyard paver patio. Before you dig, good preparation ensures your project comes together smoothly and stands the test of time.
Define Your Space
Decide what kind of patio fits your lifestyle. A small square patio is ideal for a couple of chairs, while a larger design can host family gatherings, a fire pit, or even an outdoor kitchen. If you want your patio to flow naturally with your walkways and landscape, our team can help you choose the right materials and layout.
Budget and Cost
On average, materials like pavers, gravel, and sand account for approximately 25–35% of a patio project’s total cost, with labor making up the larger remainder. For instance, one estimate for a 300 sq ft patio breaks down to $1,500–$3,600 for materials (~25–30%) and $3,000–$6,000 for labor (~70–75%) of the total $4,500–$9,600 cost
Check Location
Select a spot that’s level or can be graded with a proper slope for drainage. Avoid locations blocked by heavy shade if you want to enjoy your patio in the cool summer evenings. We can advise on site prep and drainage solutions and provide pictures to prevent future problems.
Gather Materials
Typical supplies include concrete pavers, gravel base, leveling sand, edge restraints, polymeric sand, and tools like a hand tamper, plate compactor, and rubber mallet. Having all your materials ready before you begin saves time, prevents delays, and keeps your project on track.
Choosing the Right Pavers and Materials
Not all patios are built the same, and your choice of materials makes all the difference. Concrete pavers are affordable, versatile, and come in many shapes and colors, including brown. They are a popular option for both small and large patios due to their flexibility and range of design possibilities. For a more classic style, brick pavers provide a warm, timeless look with dependable durability. If you prefer a natural touch, stone materials like granite, bluestone, sandstone, and limestone deliver elegance and long-lasting strength.
You can also enhance your design with gravel and rock accents such as pea gravel, river rock, or crushed stone, which frame patios beautifully and connect nearby walkways. By mixing textures and styles, you can create a patio that feels both practical and inviting, blending seamlessly with your home’s architecture, whether it leans modern, rustic, or traditional.
How to Build a Paver Patio (Step by Step)
If you’re tackling a DIY patio, here’s a clear process that will help you achieve a strong and professional-looking finished product:
- Excavation– Start by marking the area with stakes and string, then dig 7–9 inches deep, removing all dirt, soil, and roots. Be sure to create a slight slope away from your house, about 1/4 inch per foot, for proper drainage. Skipping this step can leave water blocked in the middle of your patio.
- Foundation –Add 4–6 inches of gravel base, compacting it in 2-inch layers. Use a hand tamper for small spaces or a plate compactor for larger areas. This base is critical; it supports the pavers and prevents shifting, sinking, or uneven spots over time.
- Leveling Bed – Spread a 1-inch layer of leveling sand over the gravel. Use a straight board or screed to smooth the surface evenly. The sand acts like a cushion, helping each paver sit level and lock into place.
- Laying Pavers – Begin along a straight edge, such as your house or walkway, and work toward the middle. Place the pavers snugly together, leaving consistent gaps for polymeric sand. Tapping them gently with a rubber mallet ensures a tight, secure fit.
- Edging –Install edge restraints along the perimeter to prevent pavers from spreading outward due to soil movement or foot traffic. Proper edging keeps your patio looking neat and ensures long-term stability.
- Finishing – Once the pavers are in place, sweep polymeric sand into the joints until they are full. Compact the surface again with a tamper or compactor, then lightly mist with water to activate the sand and lock the joints. This step reduces weeds, stabilizes the surface, and gives your patio a clean, polished look.
Enhancing Your Patio with Finishing Touches
A patio is the foundation of your outdoor space, but the details are what truly bring it to life. Adding furniture like dining tables, lounge chairs, or even a hammock instantly transforms the area into a functional space. This creates a perfect spot for relaxation and entertaining. Thoughtful landscaping with shrubs, flowers, mulch, or stone beds frames the patio beautifully and helps it blend seamlessly with the rest of the yard.
You can also elevate the style with carefully chosen décor like planters, fire bowls, or outdoor rugs, which add personality and warmth. For comfort throughout the seasons, incorporate heating and cooling features, a fire pit for chilly nights, or a pergola or umbrella for shade during hot summer days. These touches pull together a basic paver patio into an inviting outdoor room you’ll enjoy every day.
Maintenance & Care Tips
A paver patio is easy to maintain with just a little routine care. Regular sweeping, proper joint sanding, and occasional sealing will keep it looking great for years.
- Cleaning – Sweep debris regularly; wash with mild soap and water.
- Weed Control – Keep joints filled with polymeric sand to block weeds.
- Winter Care – Use a plastic shovel instead of metal, and avoid harsh salts.
- Sealing – Seal every 3–5 years to prevent stains and fading.
Conclusion
A backyard paver patio is one of the best ways to improve your yard, add curb appeal, and create a space you’ll enjoy for years. From the initial plan and excavation to choosing the right materials, every detail matters in building a patio. Adding the finishing touches ensures the space is both durable and beautiful.
At Old Station Outdoor & Landscape Supply, we make the process simple by providing everything you need in one place: pavers, natural stone, gravel, sand, edging, and more. Whether you’re a homeowner working on a DIY patio or a contractor managing a large project, our team is here with expert advice and top-quality supplies. Contact us today and let’s create something amazing in your backyard.
FAQs
Is it cheaper to use pavers or concrete for a patio?
It is usually cheaper upfront to use concrete for a patio, but pavers often save money long-term since damaged pavers can be replaced individually instead of redoing the whole surface.
Can I lay pavers directly on dirt?
You should not lay pavers directly on dirt, because the surface will shift, weeds will grow through, and the patio won’t stay level without a proper gravel and sand base.
How to clean backyard pavers?
To clean backyard pavers, start by sweeping away debris and dirt using a broom or leaf blower. For stubborn stains, use a mixture of water and mild detergent, scrubbing with a stiff brush or pressure washer. Rinse thoroughly to remove any soap residue, and allow the pavers to dry completely before applying a sealer if desired.
What is the best paver cleaner?
The best paver cleaner depends on the type of stains and paver material, but a high-quality, eco-friendly cleaner designed for stone or concrete pavers is recommended. Always test the cleaner on a small, inconspicuous area before applying it to the entire surface.